Anaconda is a Python distribution that is widely used for data science purposes. It comes bundled with many useful libraries and tools. This article will describe how to get started with Anaconda and Jupyter Notebook in detail.
Installing Anaconda
Visit the anaconda website and choose which installer to download based on your operating system. The website should automatically determine your OS, but you can also choose manually.
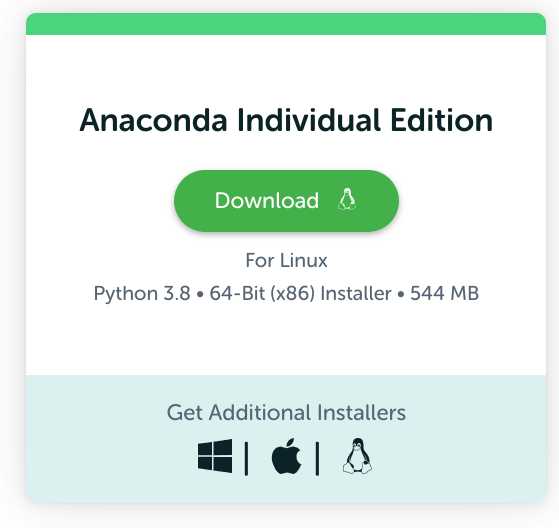
Run the installer and follow the instructions.
Testing Jupyter Notebook
Jupyter Notebook is an easy-to-use online editor. It provides a visual way to edit, run Python code and shows its output.
Anaconda will automatically install Jupyter Notebook on your computer. On Windows, you should find a shortcut to Jupyter Notebook in the Start menu, under the Anaconda3 folder. Clicking on it will start the notebook.
Be aware that the shortcut only grants you access to the files and sub-folders of where Jupyter Notebook has been installed.
To allow the notebook to view other files, it is recommended to start it from a Powershell/Terminal window. In this case, the current working directory will be the start-up directory of the Notebook.
On Windows, navigate to the desired folder in File Manager, and hit Right Click + Shift. Select “Open Powershell window here” in the pop up menu.
In Powershell, run:
1 | jupyter notebook |
This will start the notebook server and open a new tab in your default browser. The URL to the Notebook is usually this.
If you get an error message about how “jupyter” is not a recognised command, add the location of Anaconda to your system’s PATH.
Using Jupyter Notebook
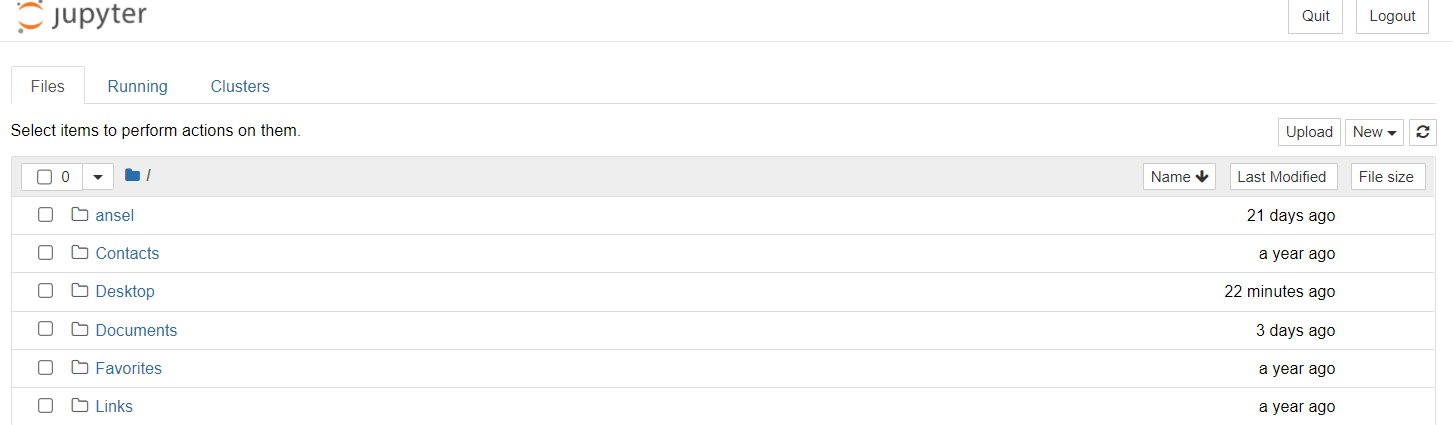
The interface of Jupyter Notebook is pretty self-explantory. You can either open an existing Notebook file that ends in ipynb, or create a new one by using the ‘New’ button and selecting ‘Python 3’ from the drop-down menu.
Each notebook instance will have its own browser tab, meaning it is possible to edit multiple notebooks simultaneously.
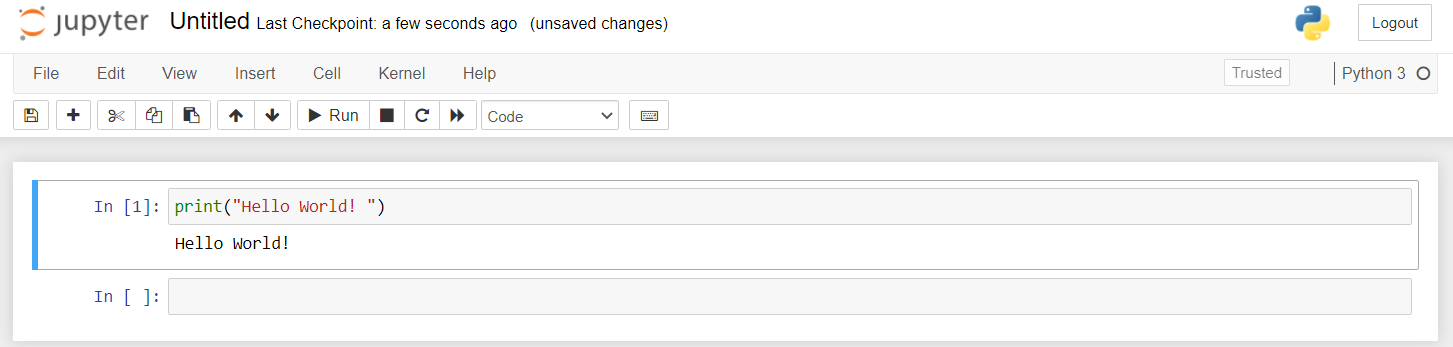
A notebook contain multiple code blocks. You can edit the code in each block and run it. Let’s try with a classic “Hello World” program.
Terminating a Notebook session
You can manually shutdown notebook sessions. Find the “Running” tab on the Notebook webpage, or click here. You should see how many terminals and notebooks are running currently. Closing one Notebook session will not affect the others.

If you want to shutdown all sessions, return to your previous Powershell/Terminal window where you started Jupyter Notebook, and hit Ctrl+C or Cmd+C twice to terminate the process.